Create an app
(If you’ve already created a Heroku app via Facebook, you can skip to the next section.)Start by going to Facebook Developers and clicking Create New App in the upper-right corner:

You’ll be presented with this dialog:
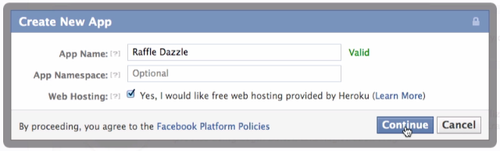
Enter anything you wish for the app name, check the box marked “Yes, I would like free web hosting provided by Heroku”, then click Continue.
Fill out the captcha in the subsequent dialog and click Submit. You’ll be taken to this screen
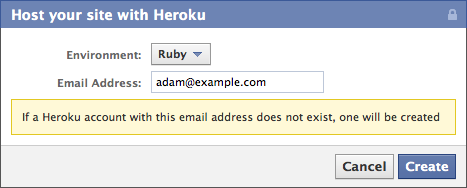
Select environment as php
If you already have a Heroku account for the email address you enter, the new app will be associated with your existing account.
You’ll be taken to a success dialog:
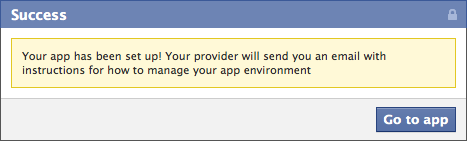
A template app, written in the language you chose, has been copied and deployed just for you!
Click Go to app to visit your new app.
Other users visiting your app will need to grant permission via a
similar dialog. Users only need to do this the first time they visit the
app.
Because you’re visiting your app as a user, you need to grant
permission for the app to access your Facebook profile by clicking Allow:Heroku account and tools setup
(If you already have a Heroku account and the local development tools set up, you can skip to the next section.)Although an account as already been created for you, and the app has already been deployed, you still need to create a password and set up local tools to make changes to it.
1) Choose a password
A Heroku user account was created for you when you created the app through Facebook. Check your email and look for the welcome message: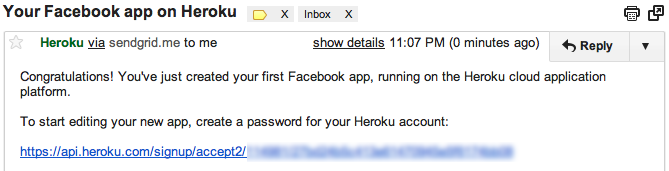
Follow the first link in that email to the page where you can choose a password for your Heroku account:

Create a password, then close that browser window and proceed to the next step.
2) Install the Heroku Toolbelt
Install the Heroku Toolbelt on your local workstation. This ensures that you have access to the Heroku command-line client, Foreman, and the Git revision control system.3) Log in from the command line
Once installed, you can use theheroku command from your terminal (use cmd.exe on Windows). Log in using the email address and password for your Heroku account:commands
$ heroku login
Enter your Heroku credentials.
Email: adam@example.com
Password:
heroku keys:add
now generate a key public key
now go to path where you want your app code (https://intense-reef-1581.herokuapp.com/)
to be placed. path d:/shubahm/
next command:
$ git clone git@heroku.com:intense-reef-1581.git -o heroku
now go to the directory , a folder will be creted like >> intense-reef-1581
delete all the files in it , and add your php code in this now
in cmd type the following commands:
cd gotto d:/shubahm/intense-reef-1581
$ git commit -am "changed greeting"
git push heroku
No comments:
Post a Comment